Building Trench Crusade-Style Terrain: Craters, Wire, Trenches and Barricades
Disclosure: Nobody paid for or sent anything for this post. This post contains affiliate links: Amazon links and an affiliate ad from Fanttik. As an Amazon Associate I earn from qualifying purchases, at no extra cost to you. How I review
Short version: Trench Crusade is set in 1914, so the terrain comes down to four things: craters, wire, trenches and barricades. I’ve built all of those, plus barrels and a lot of Games Workshop 40k box terrain. This isn’t a step-by-step of how I built mine, to be clear. It’s a guide to the common ways people make each one- every method below is described in general terms with a source.
The look you are aiming for
Trench Crusade is set in 1914 with Hell holding a third of humanity, so the battlefield is a World War I one: churned mud, shell holes, wire, timber-lined trenches and sandbags. The good news is that none of this needs fancy materials. Most of it is foam, card, wire and filler. Yes, that sounds too basic to look good on a table, but a texture coat and some paint cover a lot of sins. The one thing to plan for is that models need room to stand, so keep craters and trench channels wide enough for your bases.
Craters
A common approach is to build the crater from layers of cheap material and let a texture coat hide the joins. One crater tutorial from Bell of Lost Souls lists hardboard, cork, spackle, foam, hot glue, rocks and basing sand as the ingredients, with cheap craft paint for the finish. The idea is a base, a raised rim, a dished centre, and a gritty coat over everything.
Plaster is another route. It is cheap and easy to cast into crumpled-foil molds for rough ground, as this plaster guide shows for hills, though the author warns it is messy and brittle. Never pour liquid plaster down a drain. Your pipes did not sign up for that.
Barbed wire
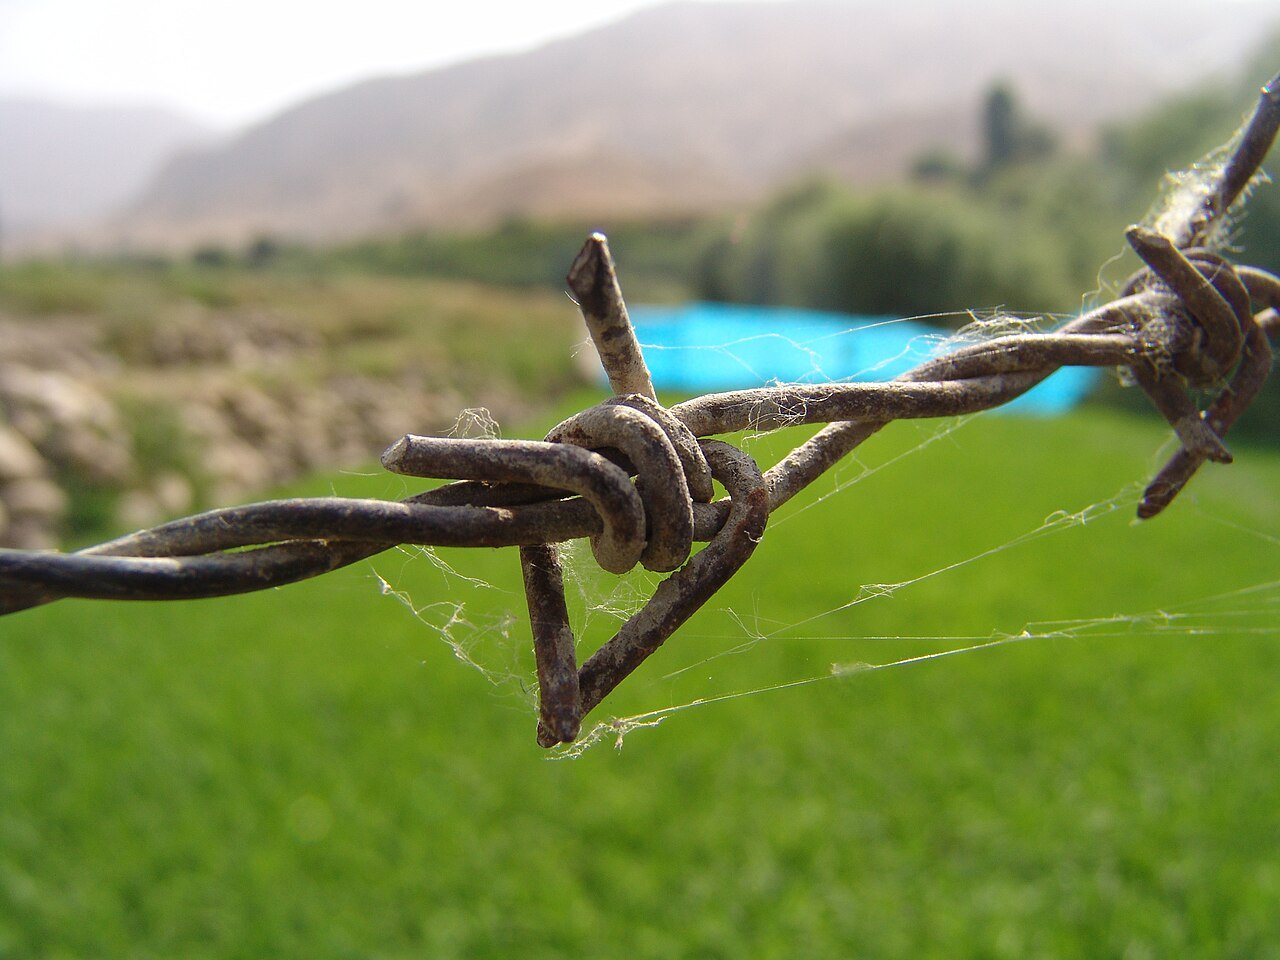
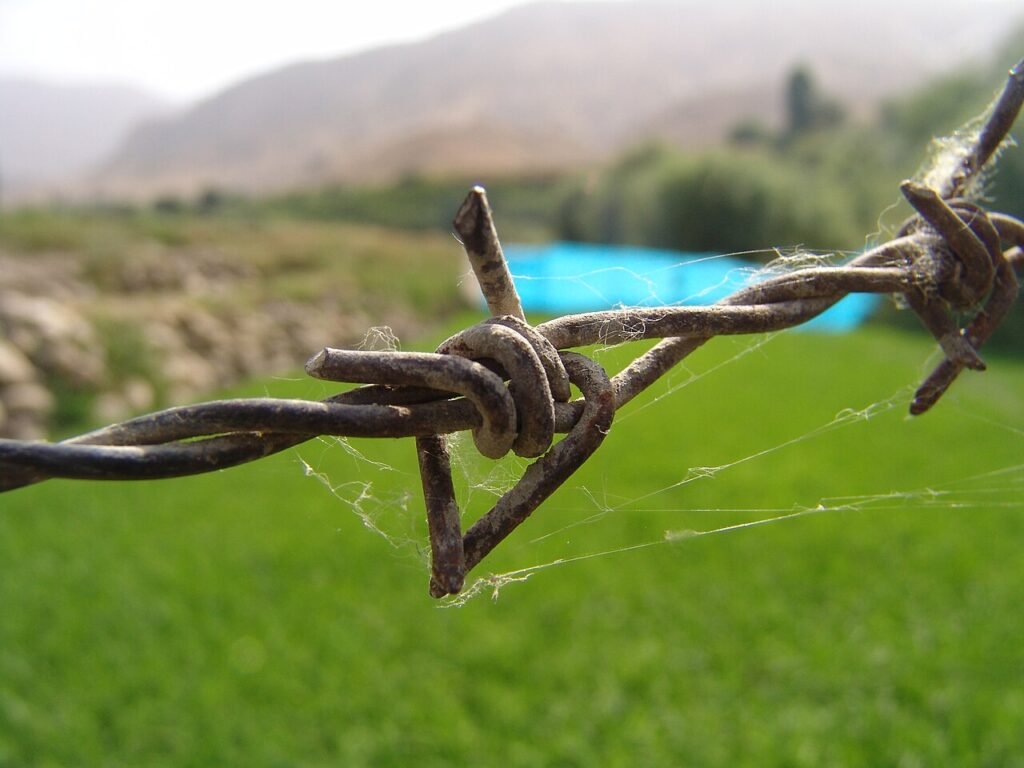
Two methods come up again and again. The first is twisting two strands of thin bare wire together loosely and unevenly, then wrapping small cut pieces around the strand as barbs, with a drop of glue to hold them. This diorama guide also shows how to coil a single strand around a pencil for concertina wire.
The second is knots. One tutorial folds fine wire into three strands, ties overhand knots about an inch apart, then snips one strand between knots so each knot leaves a pair of barbs. Its safer variant uses two strands and skips the cutting. Either way, wear eye protection, because cut wire flies.
Trenches
Foam does most of the work here. A common approach is to build the board up from foam and leave the trench as a gap, which is easier than carving down into it. Spikey Bits’ trench board does exactly that, then adds balsa walls and floor and coats the lot in a sand and gesso paste.
The official Trench Crusade blog covers a more involved version in its terrain article: stacked XPS foam for elevation, putty sandbags, epoxy putty for the ground, and coffee stirrers as duckboards. It also has a tip worth remembering: seal exposed XPS foam with heavy-body acrylic before priming, because the accelerants in spray primer can eat away at foam.
Barricades and barrels
Barricades are the most forgiving build- sandbags can be sculpted from putty, crates cut from card or balsa, and scrap sprue or coffee stirrers make convincing planks. Barrels are the same story, just dowel, tube or sprue slices with a bit of detailing.
Where the printers and the rotary tool come in
If you have a 3D printer, trench and barricade files are easy to find. I own a Bambu Lab P1S and a resin printer, but this guide is not a claim about what I printed. What I will say is that printed or hand-built, terrain needs cleanup, and I use a Fanttik F2 Master rotary tool for that on both minis and terrain. Cleaning up burrs and flash is the kind of job a small rotary tool suits.
Games Workshop box terrain is another useful base. I have a lot of 40k terrain kits, and kit pieces like ruins and walls sit comfortably beside hand-built craters and wire on a ruined-battlefield table.
Wrap-up
Pick one element, build a single piece, and see how it sits next to your models before you commit to a whole board. Craters and wire are the quickest wins- a few of each will make a table look like a battlefield. Trenches take longer but pay off the most.
Ad